The sky still bright and the sun vibrant, though now less warm as the air becomes crisp with the familiar chill of Fall. The leaves turn beautiful shades of gold and red, gently released from branches and piling underfoot. A shift from cooling comforts to all things snuggly, and appreciating the change of seasons. Homemade bread continues to be a cozy staple that I enjoy even when it’s balmy out, although I feel it pairs best with the dropping temperature.
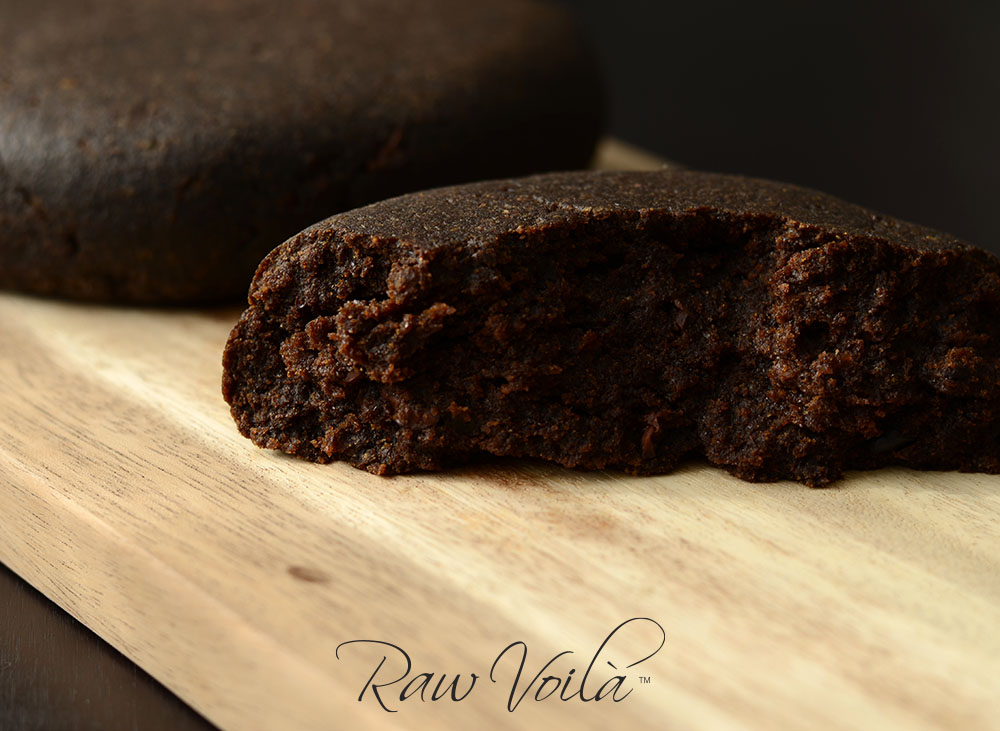
Pictured here is another rustic favorite, inspired by earthiness and nurturing—hearty and rich-tasting without the weightiness of its traditional counterpart, which this bread is always delightfully compared to. Warm smiles across lips, eyes twinkling, happy sounds upon first bites, all aid in sustaining passion for what I do. To positively impact even one person’s life by way of creating something healthful and delicious makes all the difference, and keeps me forging ahead.